Okay, so it's been a month since my last post. I've been dealing with nerve problems in my right (dominant) arm, so it's been hard to type and pretty much anything requiring fine motor skills.
Today I had a danish party. I made the dough and fillings from scratch. Yes, I made danish dough; it takes at least two days to make, so prior planning is key. The recipe for the danish dough is from Baking with Julia by Dorie Greenspan (William Morrow and Company, Inc.: New York. 1996), which I mentioned in my Julia Child post. It's fairly simple, especially if you have a food processor. I follow the recipe mostly. Why does the dough take 2 days to make? It has to be refrigerated after mixing (for at least 8 hours) and after rolling (at least 1 hour). The dough is enough for two danish braids.
The filling I used for the danishes today was cherry. Here's the recipe I developed:
1 can tart red cherries - packed in water (14.5 oz)
½ cup cherry preserves
1/4 cup corn starch.
You drain the cherry juice/water into a pot and add the cornstarch, whisking to mix. You heat the mixture over medium heat, stirring constantly. Add the cherry preserves and continue stirring. When the mixture starts to thicken, add the cherries from the can. Continue stirring until the mixture becomes becomes thick and the cornstarch has changed from white to transperant. Remove from heat and cool. This makes enough for two danish braids.
There's a second filling that goes in the danish. It's confectioner's cream, and the recipe is also in the Baking with Julia book. One recipe also makes enough for 2 danish braids (see a pattern yet?).
So, one of my roommates was kind enough to document the construction process for a danish braid.
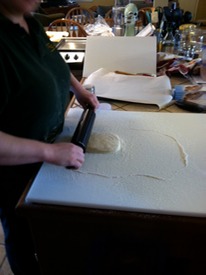
Step 1: Remove danish dough from refrigerator, and pat it into a rectangular shape. Put it on a floured surface to start rolling it out.
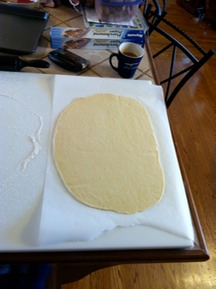
Step 2: After rolling the dough into a rectangle about 10 inches by 16 inches, move the dough onto a piece of parchment paper (you will be putting the parch on the pan that you'll bake the danish on).
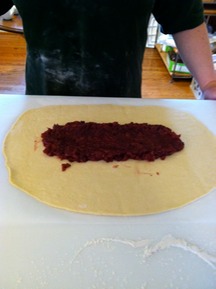
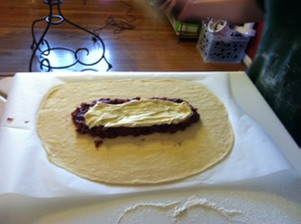
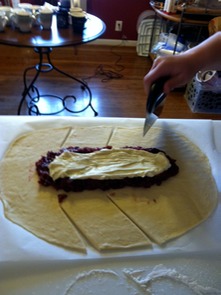
Step 3: Add the cherry filling to the center third of the dough. Then the confectioner's cream goes on top of the cherry.
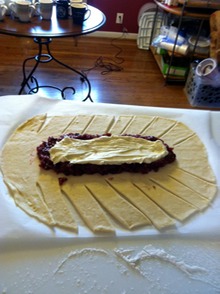
Step 4: Cut the strips for the braid at an angle. I usually cut the strips into equal sizes. It's hard for me to explain, but I have a couple of pictures to give you an idea how I do it.
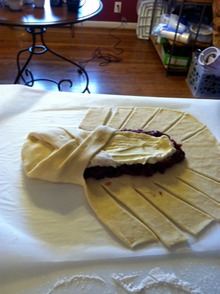
Step 5: Braiding! Start from the end that when you are standing at the opposite end of the braid, the cuts are pointing down (the left side in the above picture). Fold the top down over the filling. Take the strips and cross them over each other, always using crosing from the same side each time. Okay, that sounds confusing, but maybe a picture will help.
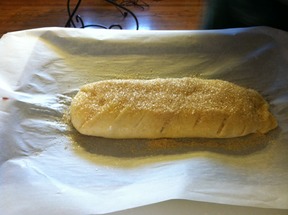
Step 6: Using a beaten egg white, brush the top of the braid completely with the egg white. Then, sprinkle a generous amount of turbinado sugar (most common brand name is "Sugar in the Raw") over the entire danish. Move the parchment paper with the danish on it onto a sheet pan. You'll cover it with a light towel and let it rise for 30 minutes before baking. Make sure your oven rack is set in the middle of the over, and preheat it to 400F.
Step 7: Remove towel and bake for 20 minutes. Remove from oven and cool for a couple of minutes before cutting it up for enjoyment!
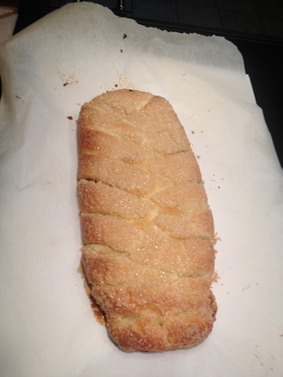
Mmmm, danish!
peace and laters,
Decker